Your Guide to 2025’s Top Bathroom Tile & Reno Trends
2575 views
Planning a bathroom renovation involves critical decisions that will impact your home’s value and daily life for years. Your choice of tile is arguably the most significant, forming the visual and functional backbone of the space. For Australian homeowners looking ahead to 2025, the goal is to move beyond temporary trends and select materials that offer an innovative blend of modern aesthetics, durability, and practicality.
This guide is designed to be a practical resource, not just a list of ideas for the bathroom renovation in Castle Hill. We’ll examine 25 tile concepts, breaking down not only the style but also the cost implications, installation challenges, and long-term livability.
In This Guide:
To understand the tile choices of 2025, it’s helpful to know the principles driving them:
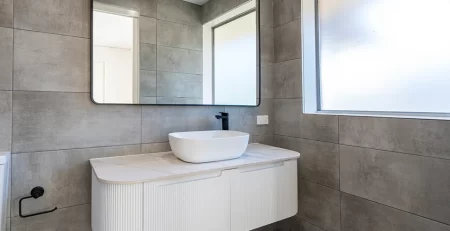
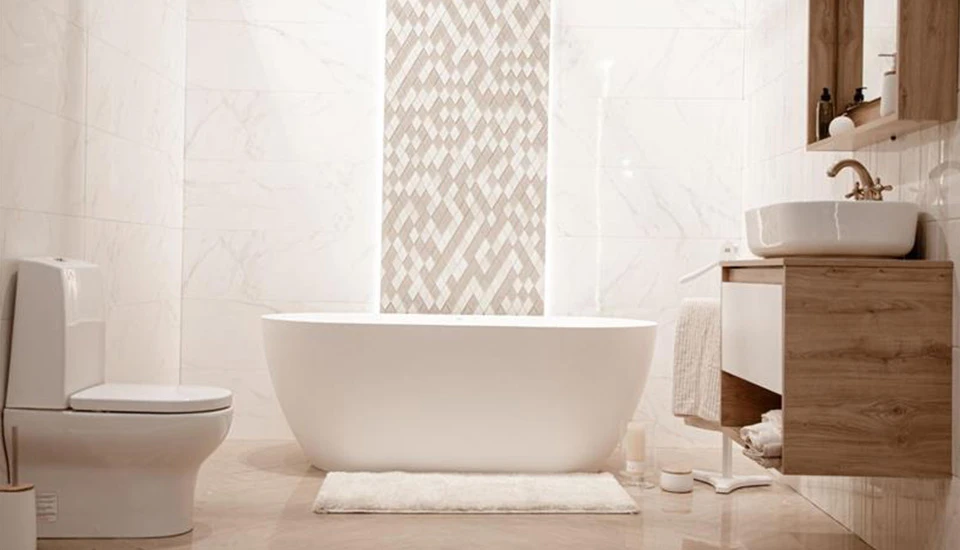
1. Textured White-on-White: The classic white bathroom, updated by layering multiple shades and textures of white to create depth and warmth, moving away from flat, sterile surfaces.
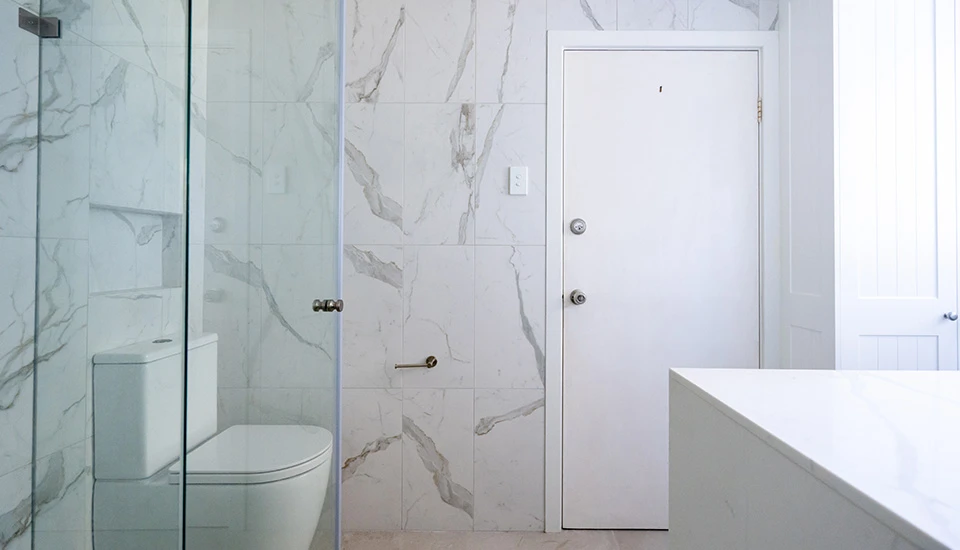
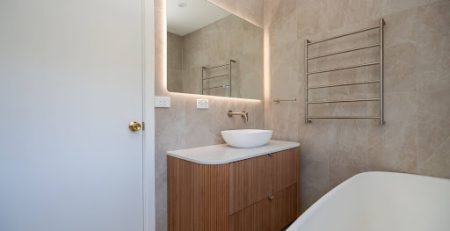
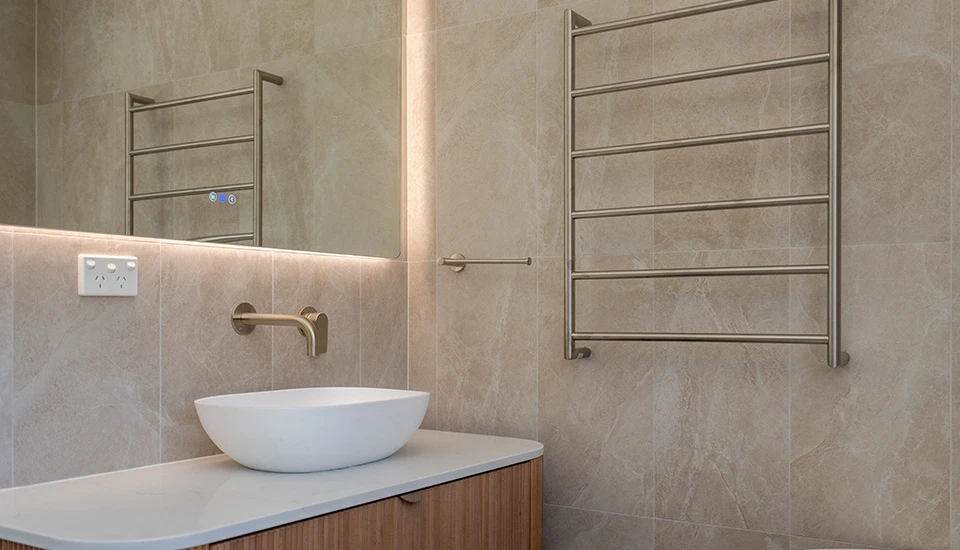
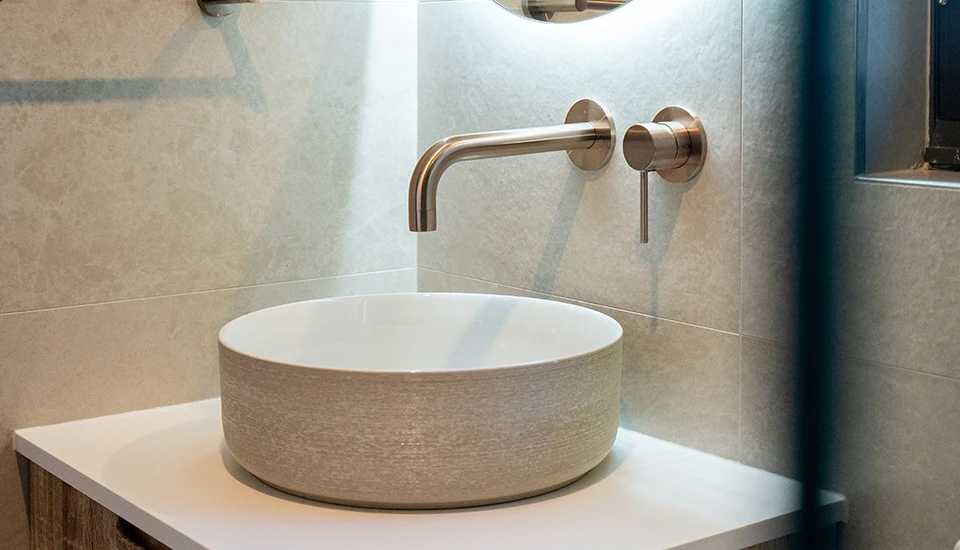
2. Soft Stone-Look Porcelain:: To create a serene and inviting base, use tiles that mimic the soft, warm, natural hues of materials like Tundra stone or honed limestone.
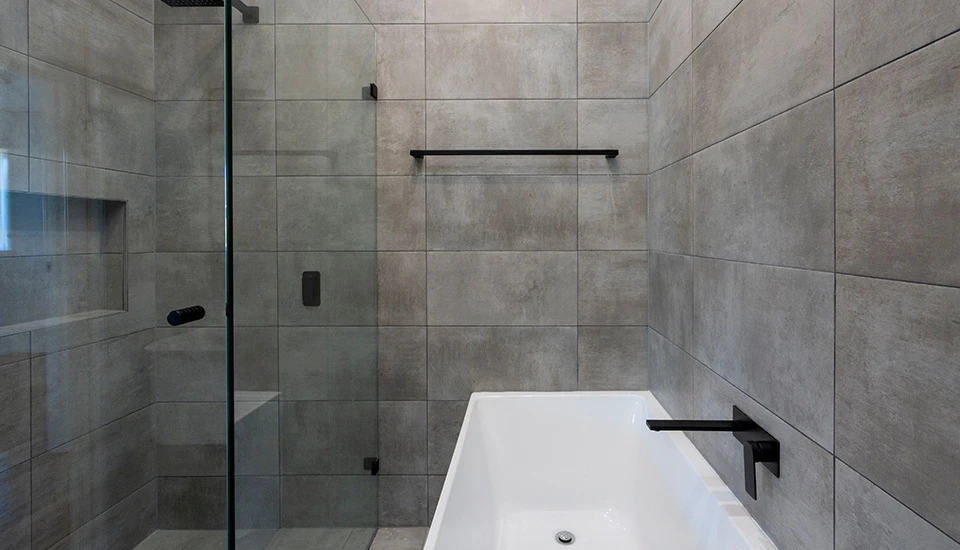
3. Seamless Concrete-Look: Employing large-format, concrete-look porcelain tiles with minimal grout lines to achieve a raw, urban, and industrial-chic aesthetic.
4. Vein-Cut Travertine-Look: A sophisticated and architectural take on the stone trend, using tiles with a distinct linear pattern for a more structured, modern look.
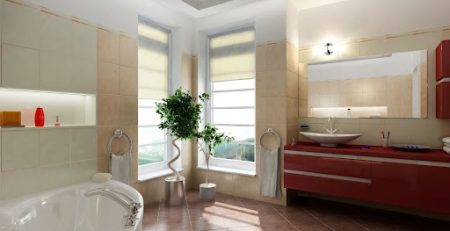
5. Earthy Terracotta Tones: Incorporating the rustic, sunbaked warmth of terracotta to bring a grounding, Mediterranean feel to the space.
6. Timber-Look Porcelain: The problem-solving tile that captures timber’s natural warmth and aesthetic without the risks of water damage or warping in a wet environment.
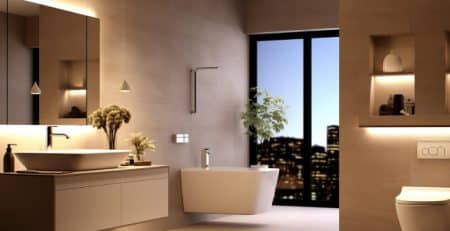
7. Modern Coastal: Evoking a sophisticated beachside feel with a refined palette of sandy-hued floor tiles and textured white walls that play with natural light.
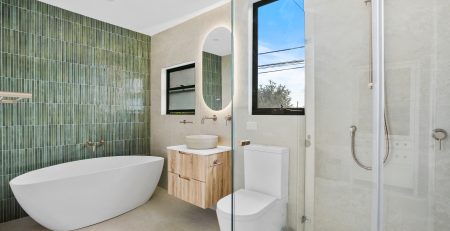
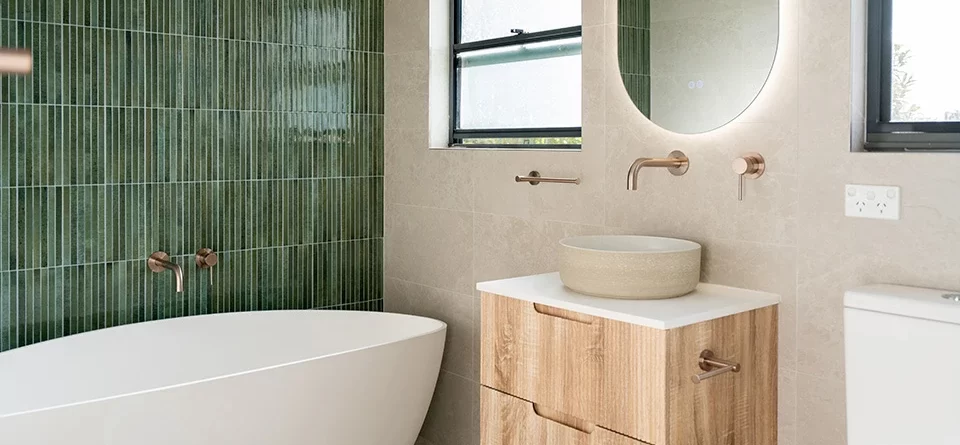
8. Rich Ocean Hues: This statement is made with deep blues and rich greens, which are used in feature walls or vanities to evoke the colors of the ocean and sky directly.
9. Fish Scale Mosaics: Using elegant fan or scallop-shaped tiles to create a decorative feature wall with a nod to nautical charm and Art Deco glamour.
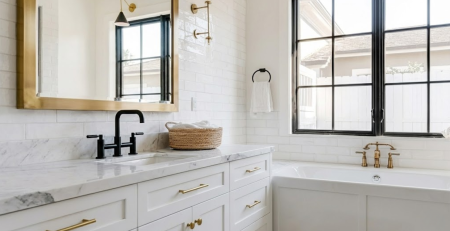
10. Classic Hamptons Style: A timeless and sophisticated coastal palette of crisp whites, soft greys, and deep navy blue accents, layered with texture for richness.
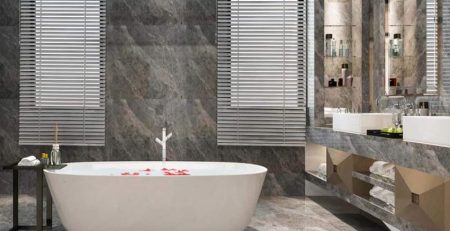
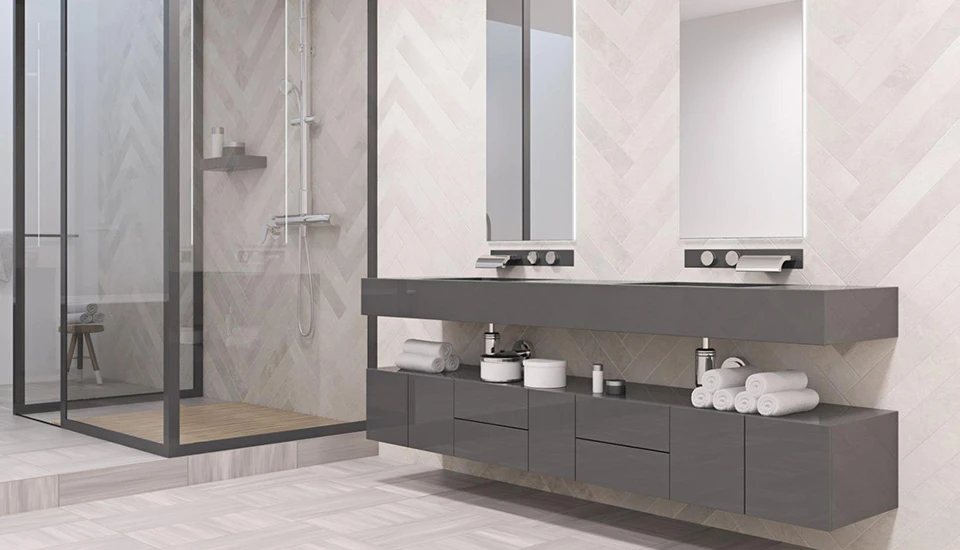
11. Hamptons Luxe: Elevating the classic style with the timeless luxury of a marble-look porcelain tile in a dynamic, high-impact herringbone pattern on the floor.
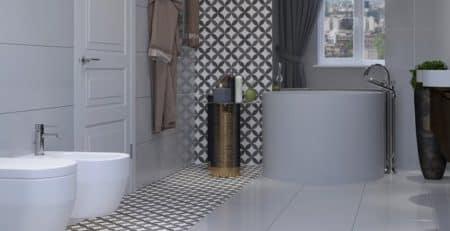
12. Maximalist Designs: A “more is more” approach that confidently layers vibrant patterns, bold colors, and rich textures to express a unique and eclectic personality.
13. Modern Coastal: Evoking a sophisticated beachside feel with a refined palette of sandy-hued floor tiles and textured white walls that play with natural light.
14. Modern Coastal: Evoking a sophisticated beachside feel with a refined palette of sandy-hued floor tiles and textured white walls that play with natural light.
15. Modern Coastal: Evoking a sophisticated beachside feel with a refined palette of sandy-hued floor tiles and textured white walls that play with natural light.
16. Modern Coastal: Evoking a sophisticated beachside feel with a refined palette of sandy-hued floor tiles and textured white walls that play with natural light.
17. The Vertical Stack Layout: A modern layout with rectangular tiles aligned in clean columns to draw the eye upward, creating an illusion of height.
18. Hexagonal Tiles: A timeless geometric shape that adds more dynamic interest than a simple square, perfect for adding a graphic element to floors.
19. Penny Round Mosaics: Small, circular penny tiles that bring a charming, retro feel and provide excellent slip resistance on shower floors due to the high density of grout lines.
20. Kit Kat (or Finger) Mosaics: Slim, rectangular tiles favored by designers for adding a subtle, sophisticated, and architectural linear texture to walls and shower niches.
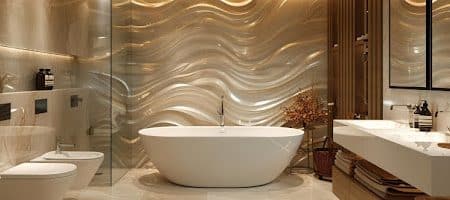
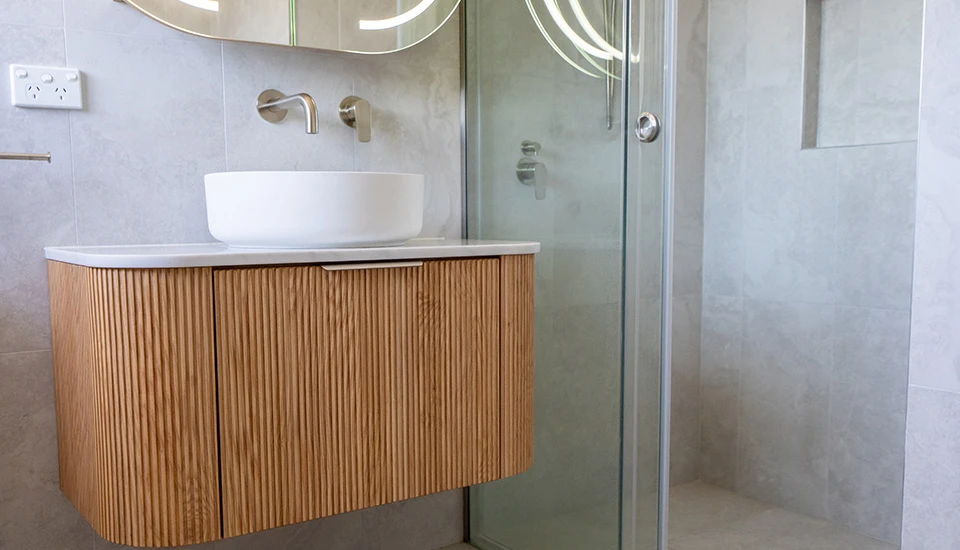
21. 3D & Fluted Tiles: Transforming a simple wall into a sculptural feature by using tiles with a three-dimensional or ribbed surface that masterfully plays with light and shadow.
22. The Small Bathroom Solution: Using large-format tiles (e.g., 600x1200mm) to create a seamless look with fewer grout lines, visually expanding a compact space.
23. The Family-Friendly Bathroom: Prioritizing durable, easy-to-clean, large-format porcelain tiles and epoxy grout to create a low-maintenance space that can withstand heavy use.
A beautiful design is only as good as the materials it’s built on.
24. Tile Material Showdown: A Head-to-Head Comparison
| Material | Average Cost/m² (AU) | Durability | Maintenance Level | Best For |
|---|---|---|---|---|
| Porcelain | $40 – $150+ | Excellent | Low | Floors, shower walls, high-traffic areas. The most versatile choice. |
| Ceramic | $20 – $100 | Good | Low | Walls, vanity splashbacks, and low-traffic areas. Great value. |
| Natural Stone | $150 – $300+ | Varies (Porous) | High | Feature walls, vanities. Use with caution on floors due to sealing needs. |
| Glass Mosaics | $90 – $350+ | Excellent | Low | Feature walls, shower niches. Not typically used for floors. |
Grout is more than just filler; it’s a design tool.
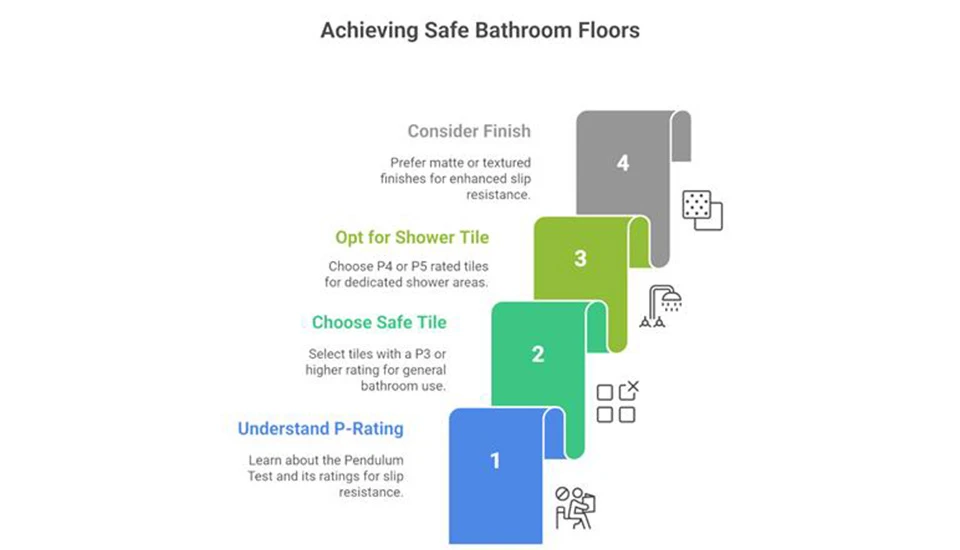
For floors, aesthetics must come second to safety. Look for the tile’s P-rating (Pendulum Test). A rating of P3 or higher is a safe benchmark for a main bathroom floor. For a dedicated shower floor, P4 or P5 is ideal. Generally, matte and textured finishes offer better slip resistance than polished surfaces.
This section tackles the critical questions every Australian homeowner faces.
Decoding the Costs: A Realistic Bathroom Renovation Budget
The cost of bathroom renovation in Australia can range from $15,000 to $40,000+. Tiling is a significant portion of that. Use this table for a clearer picture of the expenses involved.
| Expense Category | Average Cost Range (AU) | Key Considerations |
|---|---|---|
| Tile Removal & Prep | $50 – $80 per m² | Labour-intensive; often an overlooked cost. |
| Waterproofing | $500 – $800 (Standard Room) | Must be done by a licensed professional in NSW & QLD. Non-negotiable. |
| Tiling Labour (Standard) | $60 – $90 per m² | For standard layouts like grid or stack bond. |
| Tiling Labour (Complex) | $100 – $150+ per m² | For intricate patterns like herringbone or small mosaics. |
| Adhesives & Grout | $20 – $55 per m² | Cost varies depending on standard vs. premium epoxy products. |
Budget Allocation Tip: Splurge on a high-impact, durable porcelain for the floor, and choose a more affordable, simple ceramic tile for secondary walls. This delivers maximum impact without an excessive price tag.
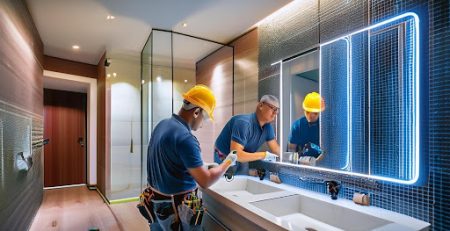
This table outlines which tasks are manageable for a skilled DIYer versus those that should always be left to professionals.
| Task Category | Recommended for DIY (with caution) | Leave to Professionals |
|---|---|---|
| Preparation | Removing old tiles (if not bonded with asbestos). | Significant substrate levelling, structural changes. |
| Waterproofing | NEVER. | ALWAYS. This is a licensed trade. |
| Tiling | A small, simple splash back with ceramic tiles. | Large-format tiles, natural stone, intricate patterns, and all-floor tiling are advisable. |
| Grouting | Sealing standard cement grout. | The application of epoxy grout requires skill and speed. |
Before you begin, run through these final steps to set your project up for success.
The most successful bathroom balances current aesthetics with timeless functionality. Understanding the practical implications of your choices, from the material and pattern to the installation and budget, can help you make informed decisions. A well-designed bathroom is more than an aesthetic upgrade; it’s a long-term investment in your home and quality of life. So what are you waiting for? Contact the Australian Renovation Professionals team today to take the next step!